This step-by-step tutorial shows you how to build Netflix-style intro scene, with big texts and “fly-though” font. First of all, Lyric Video Studio uses system fonts, so before you begin, make sure you have the font installed that you with to use. You can install fonts to your system bu downloading a font and then just double click it.
First, create blank project and start by adding single text item and open project settings. Define your basic font setting first: we’ll be copying that style later, so it’s less clicking if you do it right in the first place. Click ‘P’ of select View -> Project settings. See the screenshot below for font setting. Most important is the “Auto line”, which should be off.

Let’s first make the other text before diving into fly-through setup. Create new Lyric Tracks, by clicking ‘+’ icon from left side of the timeline. You can copy the font definition from the project, so you don’t need to define it from the scratch.

Change font color and add glow effect by clicking “Add drop shadow”

Set the offset to 0, 0, Sigma to 20, 20 (depending on the font size) and set the shadow color to math the font color. Or whatever color you want the glow to be

Now you can create text for the scene using that that and all items will have same font. If you want overlapping texts, just duplicate the track and keep adding text items. Change item position and rotations etc settings by clicking the item.
To create larger texts with animation, duplicate your track and then for the new track increase the font size. Add X offset (px) and Y offset (px) effects directly to the items to make them move in the scene.


Create additional lyrics track for “actor” names. Create new font definition to track and add color effect for the extra twist. Click ‘+’, select ‘Track effects’, click ‘Add font definition’, select for parameters. Then, click ‘Add new effect’ -> ‘Text’ -> ‘Text color’. In the example project, I’m using red -> white transition, so let the ‘Red’ delta be zero, and change the Green and Blue to have ‘Delta change’ 1. Change Start / End time to absolute, set effect end to 300ms and set ‘Reverse towards end’ on. This way you get the same animation but in reverse 300ms before the text disappears. Last, change the ‘Alpha’-transition type to ‘Start to end’, set star value to 0, end value to 0.8, set time value to Absolute with 200ms end time. Now you have smooth ‘actor’-texts as well.


Fly through
And now for the fly through. First of all, the text color must be white. You need two effects for this, ‘Scale’ and ‘Relative Y position’. Set the scale effect ‘Delta change’ to 200 and the ‘Relative Y position’ to 1. Set the Easing curve to ‘IN expo’. Depending on your text, font size etc, you may need to adjust these values or add other positional effects, like X-offset.

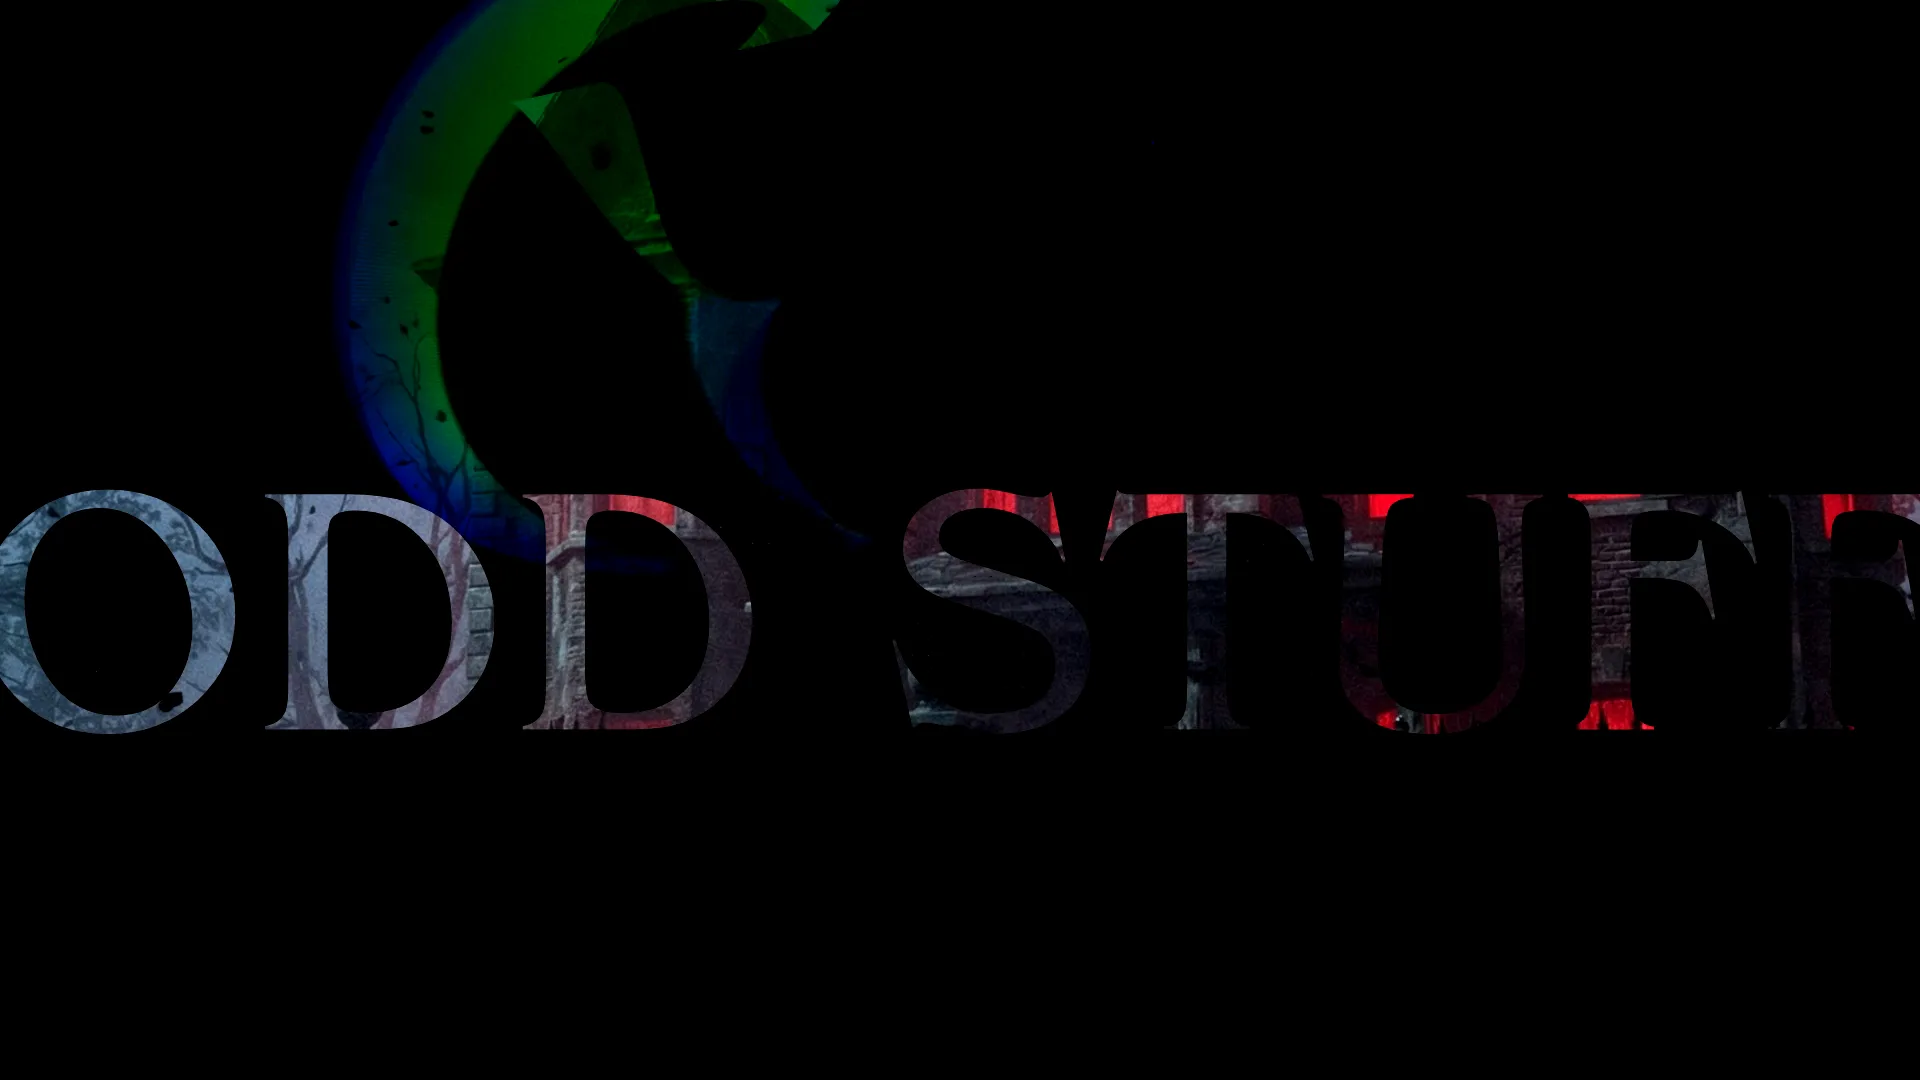
And here’s the most important part: Text will wok as mask for the still image of the video, IF the video / image track is just below the lyric track and item blending mode MUST BE SET to ‘Multiply’. If you’re working with generated content, right click on the item and select ‘Show effects’.

Now the image or video should only be “through” the font and the font should not render white anymore. To render the clip normally after the font is no longer visible, hold shift and double click on the item to cut it into two clips and set the Blending more off the latter item.
With powerful text tools of Lyric Video studio, you don’t need expensive After Effects or high-end premium setup to create Hollywood-level intro scenes. You can the example project and open it from Lyric Video studio. Project is large, because it uses MilkDrop audio-reactive visualization as background. You can also download the project from latest up-to-date version of Lyric Video Studio. Lyric Video Studio offers a lot of features for you to create epic videos, see all the features here
Discover more from Lyric Video Studio
Subscribe to get the latest posts sent to your email.